Since my last post on the Lancia Aurelia GT back in early March of 2014, a lot has happened relating to the restoration of this magnificent Italian classic Grand Turismo car of the mid fifties. On Tuesday 9/9/14 a certain milestone was achieved; the reconditioned Lancia V-6 engine (the first production V-6 engine adopted by a car manufacturer) was installed in the engine bay!
But let’s rewind to where we had left off back in March. We had set up the following ‘works to be done’ outline pertaining to our restoration procedure:
- Engineering and Mechanicals (mainly completing the body works and sourcing spare parts)
- Engine overhaul & reassembly
- Transmission overhaul & reassembly
- Suspension, steering and brakes overhaul
- Electrics (including a new wiring loom)
- Paintwork and Exterior
- Interior, upholstery, headliner
- Final detailing, testing and running-in.
Where are we today? I’d say having completed points 1 to 4, we should be about 60% done. Let’s be a bit more specific.
A/ Engineering and Mechanicals (mainly completing the body works and sourcing spare parts).
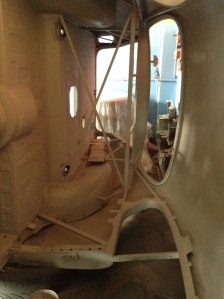
After considering few options as to which body shop to use, obtaining couple of quotations, we opted to employ the services of Dimitris Chronopoulos (a.k.a. Naftis), who had successfully worked on couple of past projects for my partner Thanassi. Hence the B20S was truck loaded from my garage to his shop one fine day in mid-March. Naftis and his son Costas attacked the project with gusto and soon enough many imperfections were rectified. The engine bay and undercarriage as well as the trunk (boot) area, wheel arches, doors and door posts, trunk lid etc. were treated, straightened and primed. Few photos tell the story best.

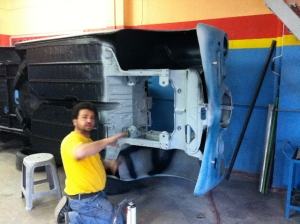
So here are some shots from the works already done. [By clicking on the photos they open in a larger size format.] 😉
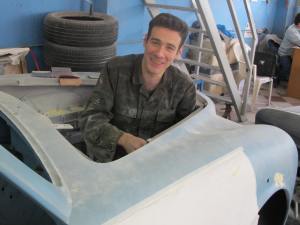
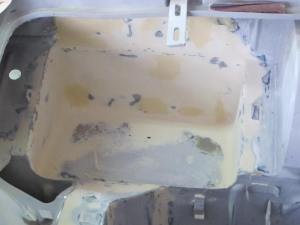
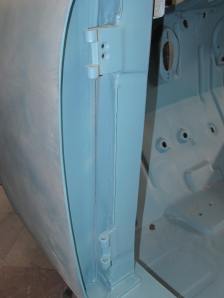
In the mean time, a long quest to search and source an extensive list of spare parts needed for the project commenced, burning long computer hours, drafting and sending countless e-mails, sorting through replies, evaluating the answers, comparing prices, negotiating and finally placing purchase orders.
At this point it is worth to mention that our two main suppliers for spare parts are Omicron Engineering in the UK, and M.A.R.A. in Italy. With both proprietors of these fine establishments we became friendly, namely Andrew & Elizabeth Cliffe and Fabio Poledro. As a nice surprise Andrew mentions in one of his messages pertaining to the previous custodian of B20S-1548, Mr. Peter Hudson: “Dear Byron,
It appears the car belonged for a long time to Peter Hudson. My parents know him quite well as they used to live nearby many years ago. He has a Fulvia at the moment.
The address on the old registration document is still valid, so I suggest writing to him. I don’t have an email address, but his telephone number is +44 1132 xxxxxxxx. I would recommend writing to him or calling him, and maybe he can advise if he uses email.
I’m sure he will be pleased to fill in what history of the car he can remember.
Elizabeth has your wish list and is going through it now.
Kind Regards,
Andrew”. As the saying goes, It is after all quite a small world! 🙂
Needless to say, thereafter I have established direct contact with Peter who has helped us by filling-in some provenance details of the car and even finding and sending to me the original ignition keys of the Aurelia! ![]()
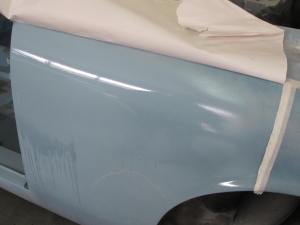
Another issue to resolve was learning about and then sourcing the original color of the car, known as Azzuro Celeste, or sky blue. Scouting the various Fora of the Lancisti communities in Europe, the USA and Australia, I finally discovered that the original paint manufacturer for Lancia Automobiles S.p.A. was a company by the name of Lechler; to boot this company still exists and has a dealer in Athens! Hence Thanassi rushed to this shop and obtained a liter of the #1173 code item. Armed with this hard sought after item, a first paint trial was performed by Naftis. The result was quite pleasant.
B/ Engine, transmission, suspension, steering and brakes overhaul & reassembly
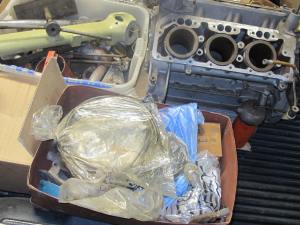
All these tasks were entrusted to Makis Efthymiou, a competent mechanic with many years involvement in competition preparation of formula, rally and other race cars. To boot he had recently successfully completed the overhaul of a very similar V-6 engine from a Lancia Flaminia. One word that characterizes Makis’ skills is ‘inventiveness’. No matter what the challenge faced, he would come up with a proper solution. His network of contacts and allegiances within the Greek ‘mechanicsdom’ has proved equally valuable. He attacked the project by first evaluating the disassembled engine and existing parts trove in my garage, as loaded on my Dodge Dakota pick-up truck in early in March. We both agreed at that time that the challenge of jumping into a project that has been disassembled by someone else and even without knowing if all the parts are there, is awesome; like a big jigsaw puzzle…
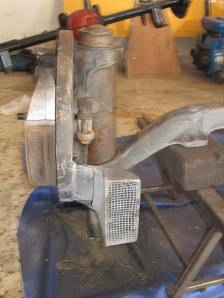
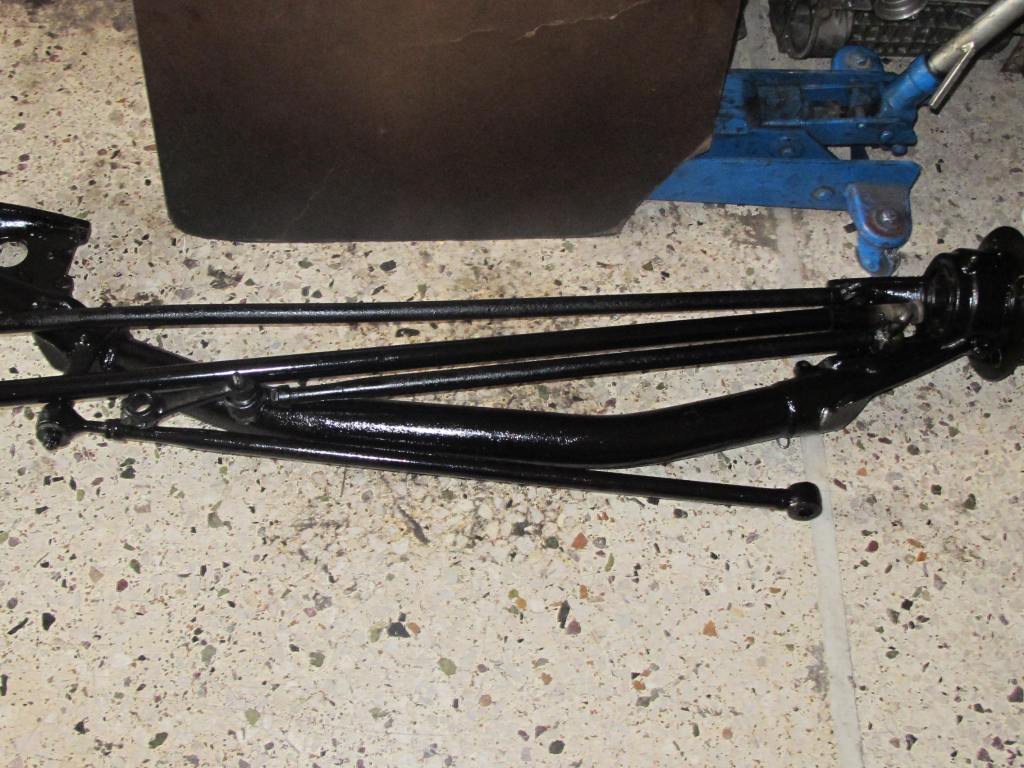
Next step was to remove the front and rear axles plus transmission from the car while it was worked on in the premises of the Naftis body-shop. His inventiveness came to test regarding the unique design of the front sliding pillar suspension system that used by Lancia on its Lambda model from around 1922. Lancia continued with sliding pillar suspensions until the 1950s Appia model. Dismantling, inspecting and repairing these parts required some spacial tooling which we did not have. After searching on the net, I located some articles and pictures of the required tooling. Sharing these with Makis, he proceeded with fabricating these tools and eventually, not without considerable effort, he managed to dismantle the parts. Luckily, M.A.R.A. was able to supply some critically needed spare parts to complete the overhaul of the sliding pillar suspension!
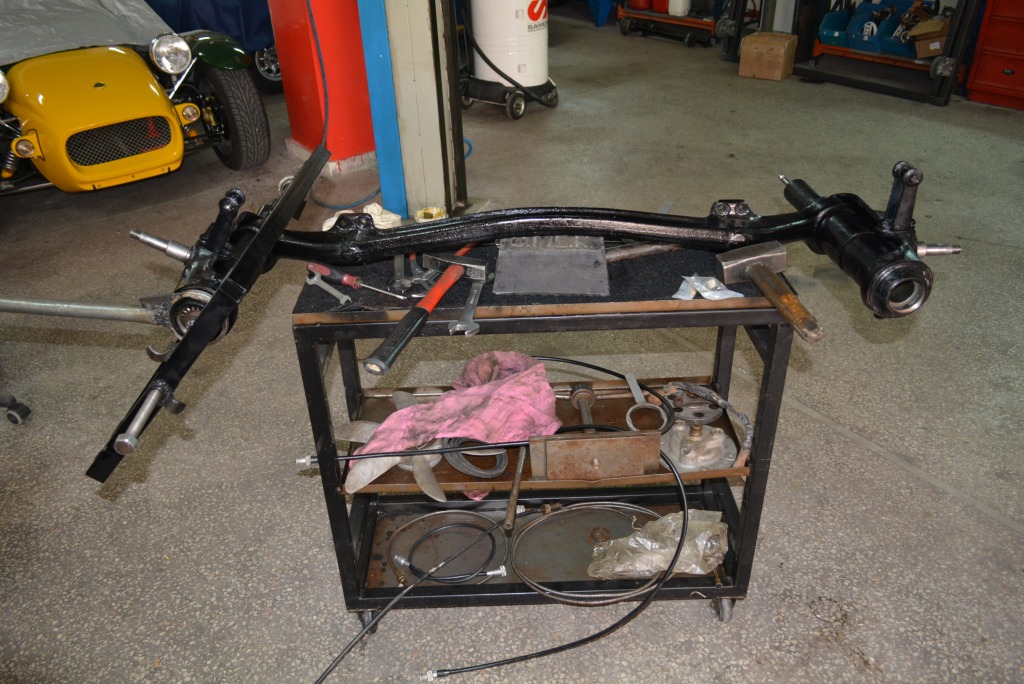
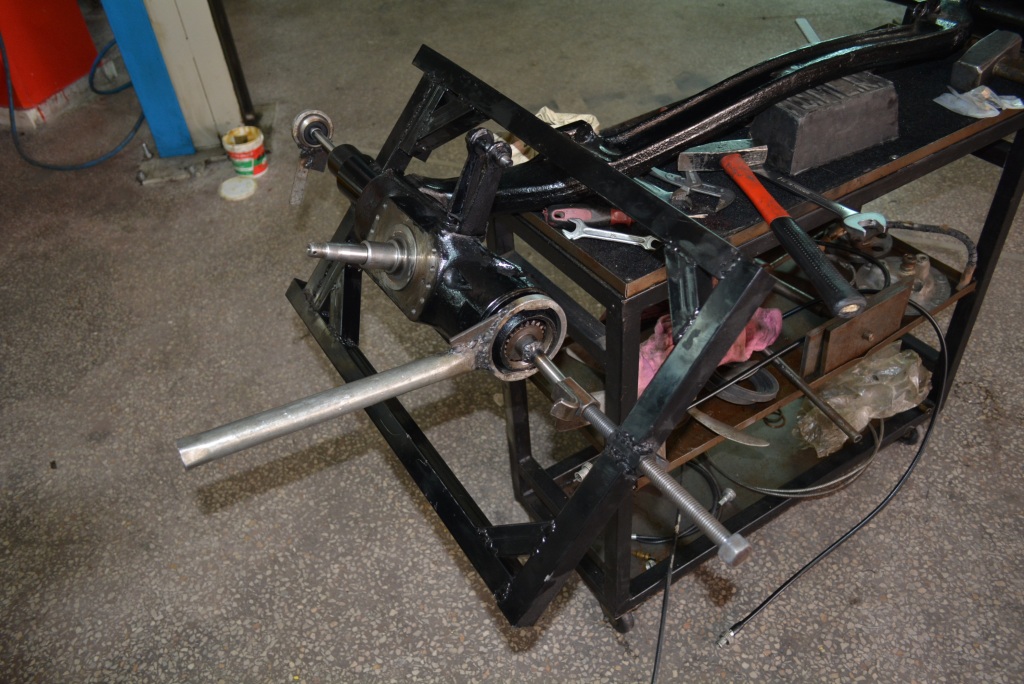
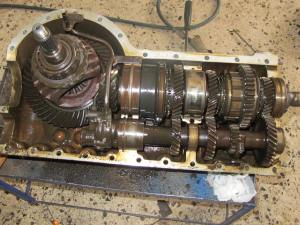
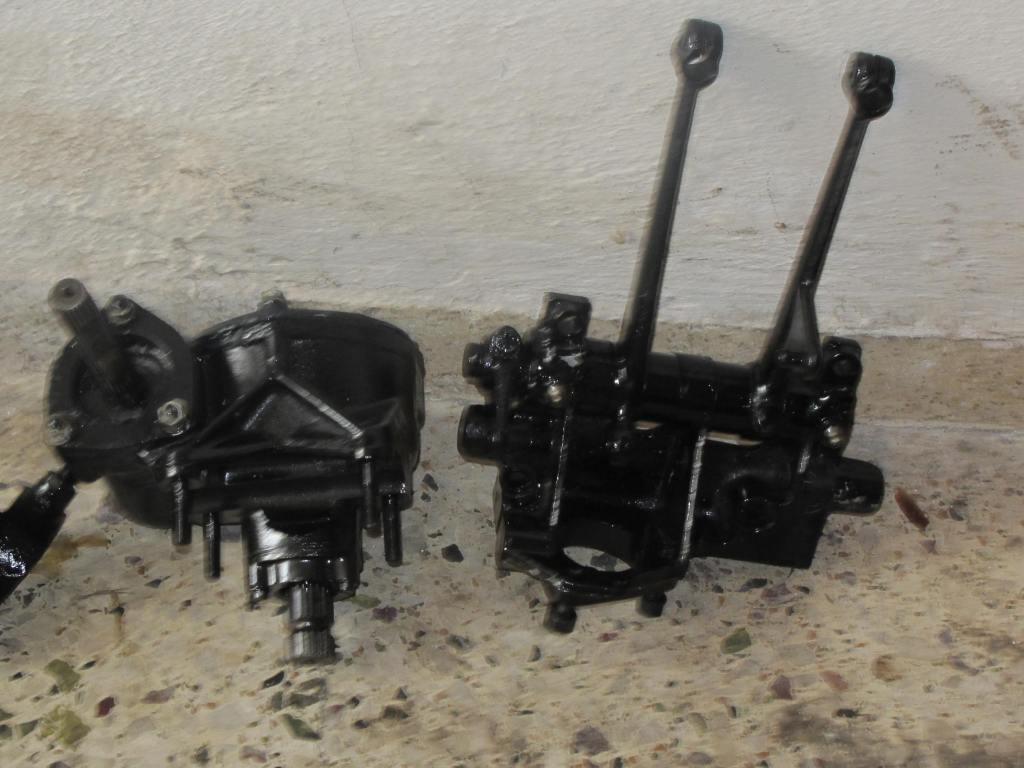
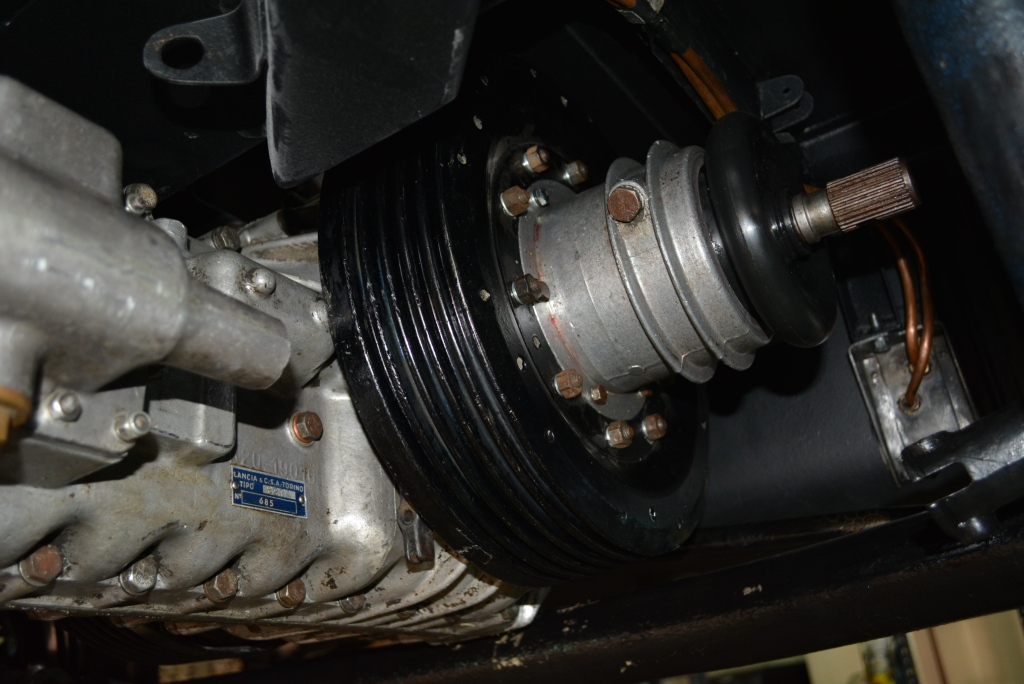
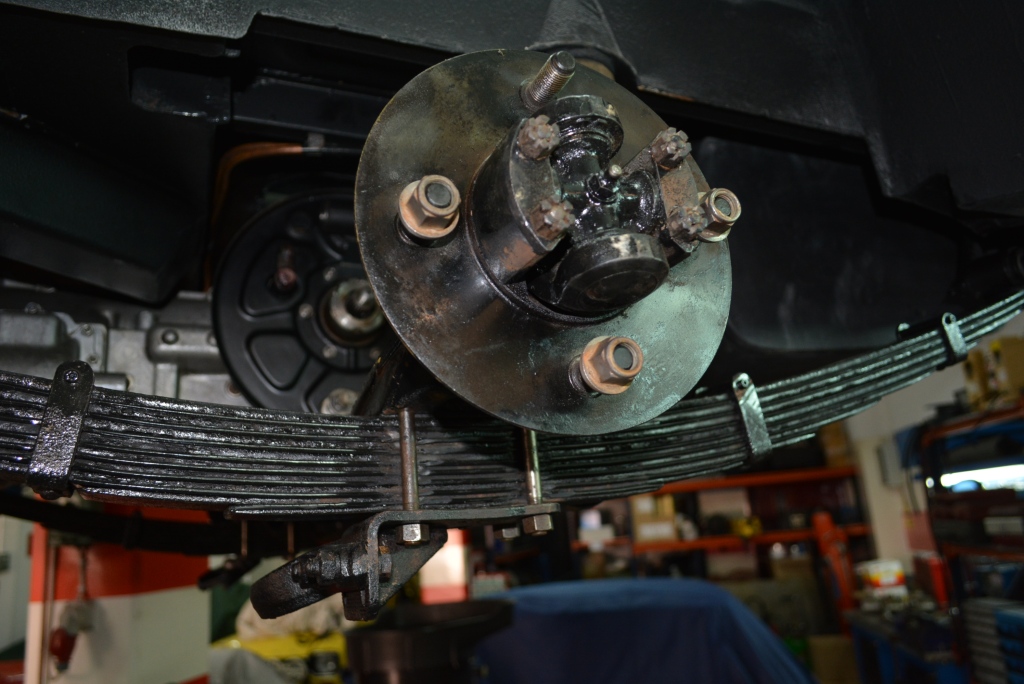
All the other parts as brake drums, shoes, pedal assembly, steering box and linkages, rear axle as well as the trademark of the Aurelias, the transaxle (both a transmission, differential and clutch in one compact aluminum housing), were inspected and overhauled by Makis. While at it, the clutch disc and diaphragm were replaced. The nasty surprise came when we realized that the flywheel was missing from the parts trove. Fabio of M.A.R.A came to the rescue once again, pointing to two thicknesses used. ‘Which one do you need? Measure the thickness and let me know’ was his logical question. BUT, what to measure if one does not have the part in hand? After some back and forth, he revealed the little secret: flywheel sizes/widths/weights had a direct relation to the clutch disc diameter. Ipso facto, we could now answer this critical question, since we had a clutch disc in hand to measure and report!
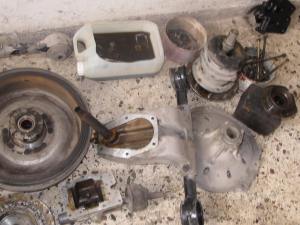
Having worked on the various sub-assemblies of the car, having ordered and taken delivery of a rather large collection of spare parts from Italy and England, and at the same time Naftis having completed all the preparatory work on the B20S body hulk, the time came for the car to be moved (sans wheels) to the workshop of my friend Costas, where Makis would commence the critical V-6 engine rebuild. Ensuring a safe moving procedure, a special dolly was constructed; the car was placed upon it, fastened down and then loaded to a car transporter truck. At its new friendly guest house, the car would remain for few months until the completion of the engine overhaul and the installation of all the sub-assemblies, i.e. until the end of September 2014.
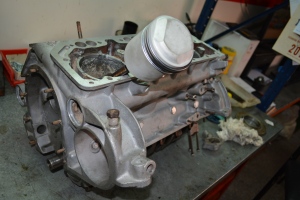
A special mention is due for the engine overhaul. Early on Makis and I had visited the machinist shop (apparently one of the most reputable in Athens) to who we entrusted the engine block, crankshaft, new pistons, liners, connecting rods and the two cylinder heads. We bought six new pistons & cylinder liners, while the already reconditioned in England heads were inspected, milled, polished and the valves checked for proper seating. The crankshaft was reground and balanced, new main and con-rod bearings fitted.
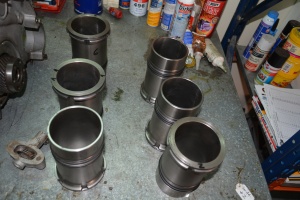
A number of other tasks had to be completed. The inner water cooling passages needed scraping and cleaning before the new liners could be installed along with their new O-ring rubber seals. Some studs required rethreading and/or replacement etc, etc. The Zenith carburettor was also entrusted to a specialist for reconditioning and replacing its jets & needle. Ditto for the radiator and fuel tank, brake/front suspension fluid canister which were disassembled, cleaned, pressure tested etc.
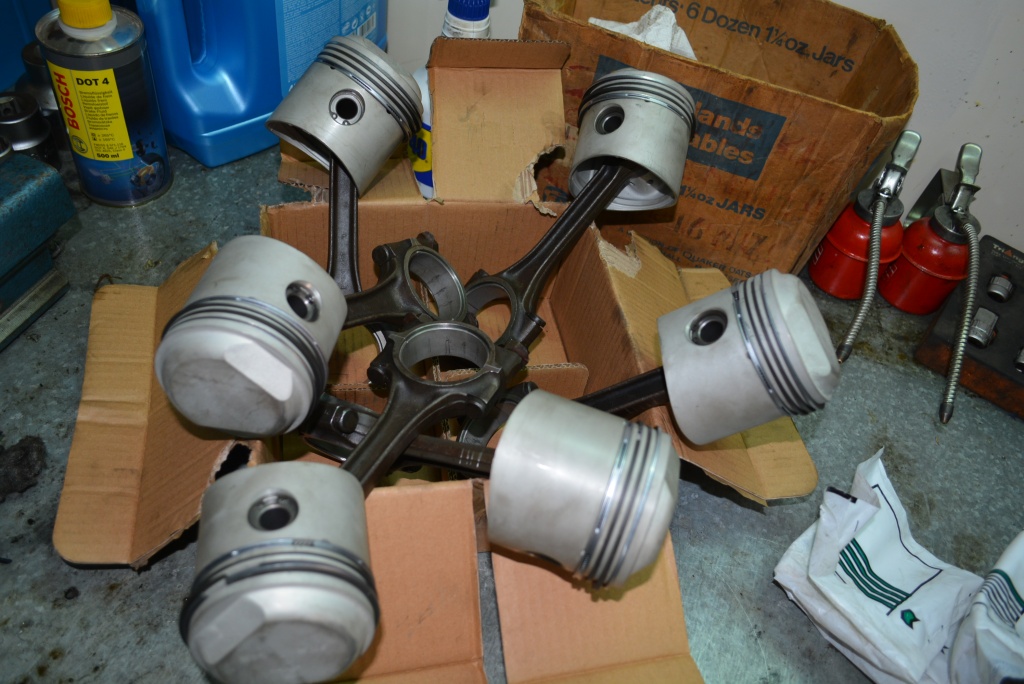
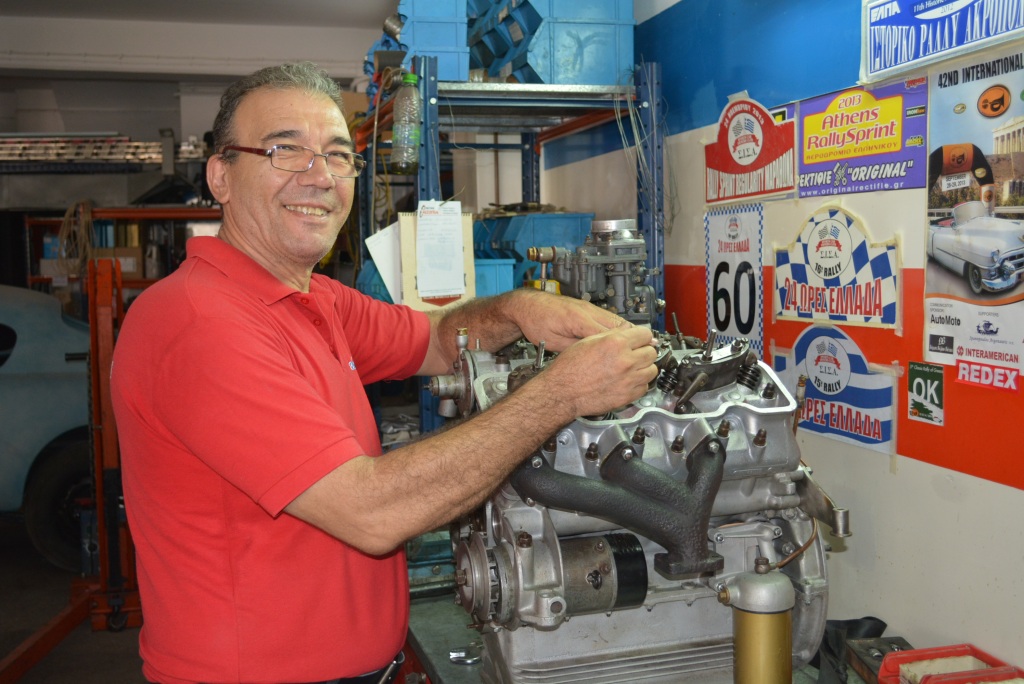
For a more thorough photo album documenting in great detail the jobs done by Makis click HERE!
The final stage of these works culminated by the milestone of fitting the engine in the engine bay, a task done on 9/9/14. At the same time both the prop-shafts and gearbox linkage rod were fitted. Several more details need to be addressed as: gas pedal assembly linkage where some additional parts are required and awaited from Italy, installation of the dual piped exhaust system, radiator & plumbing, brake & suspension fluids, clutch & hand-brake linkages, steering wheel etc.
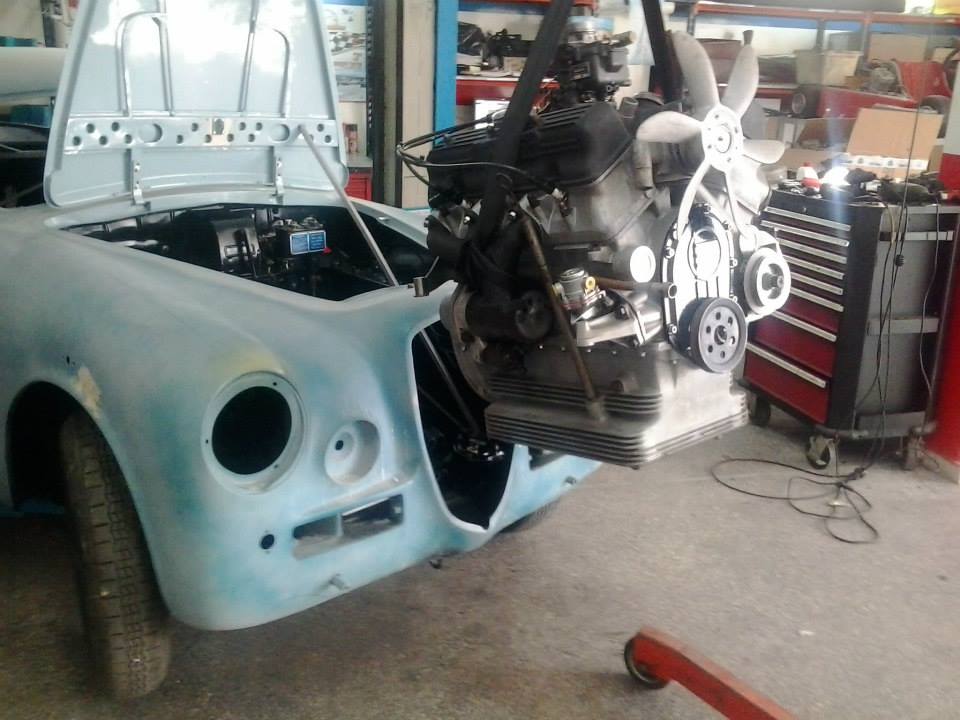
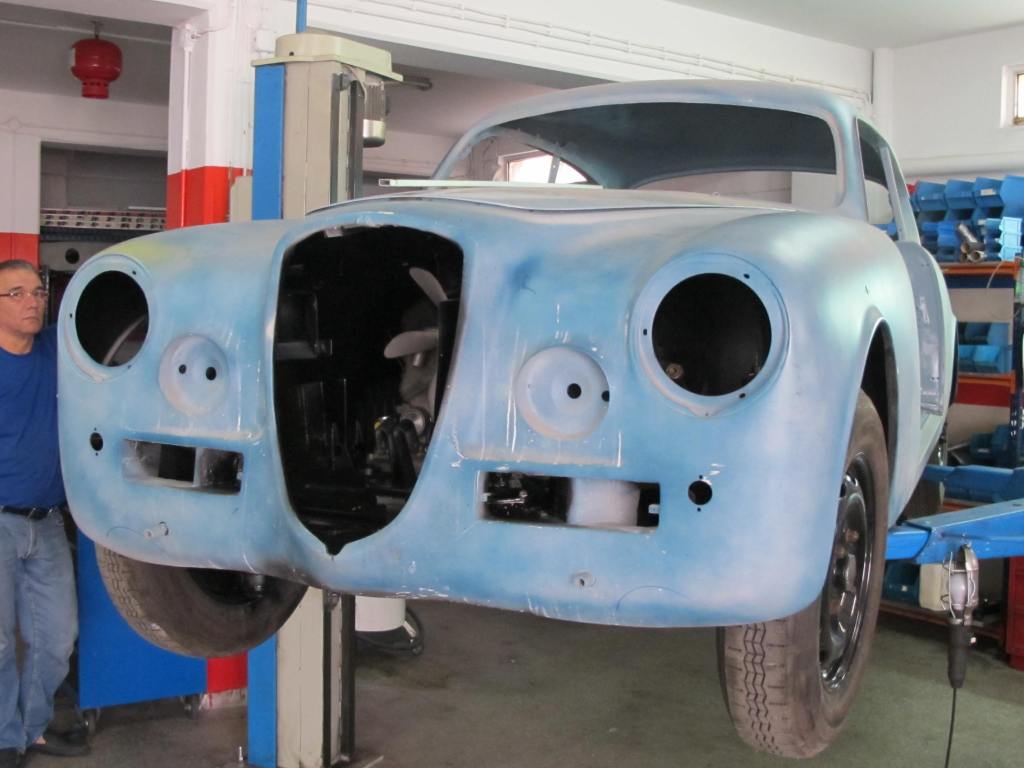
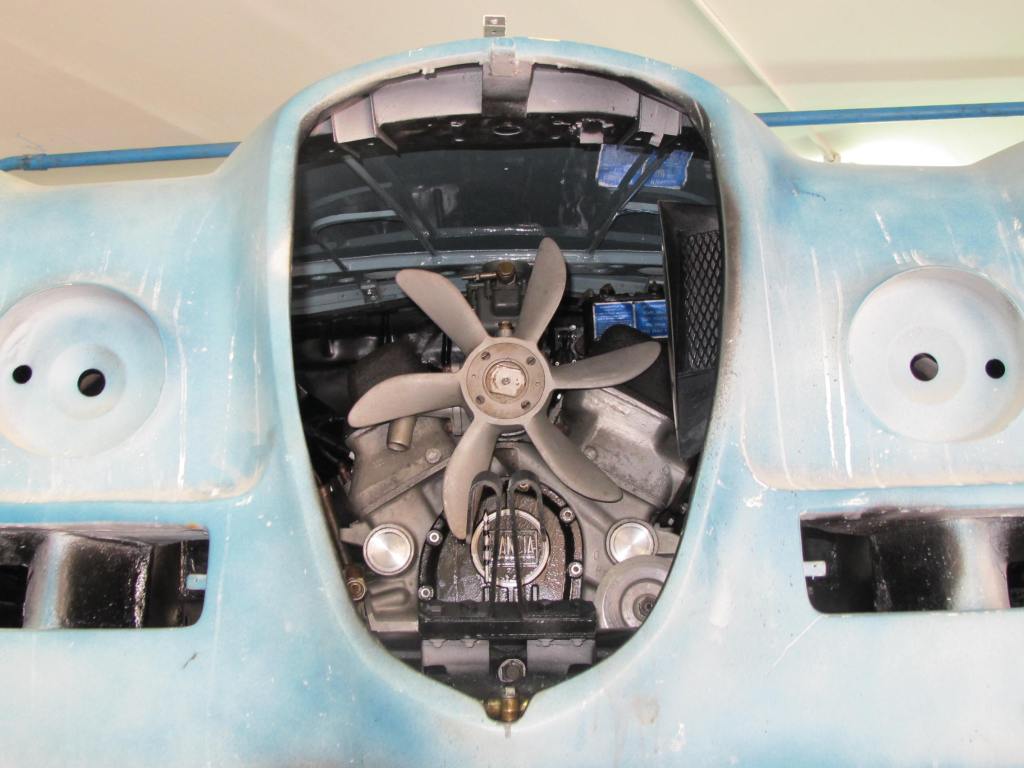
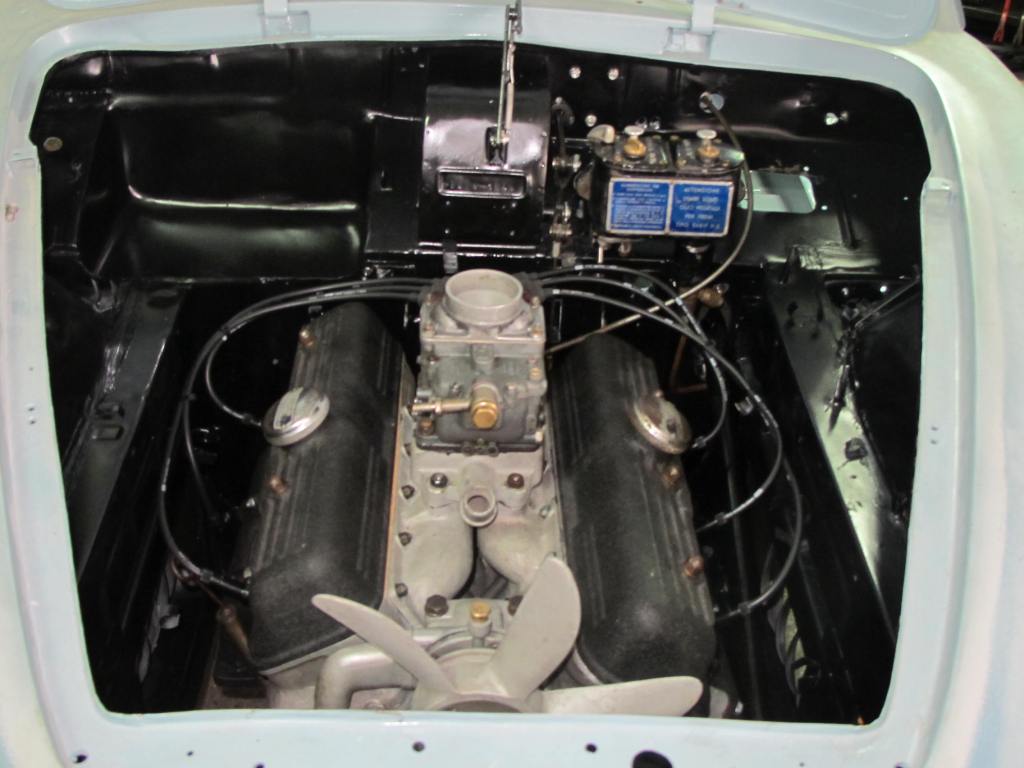
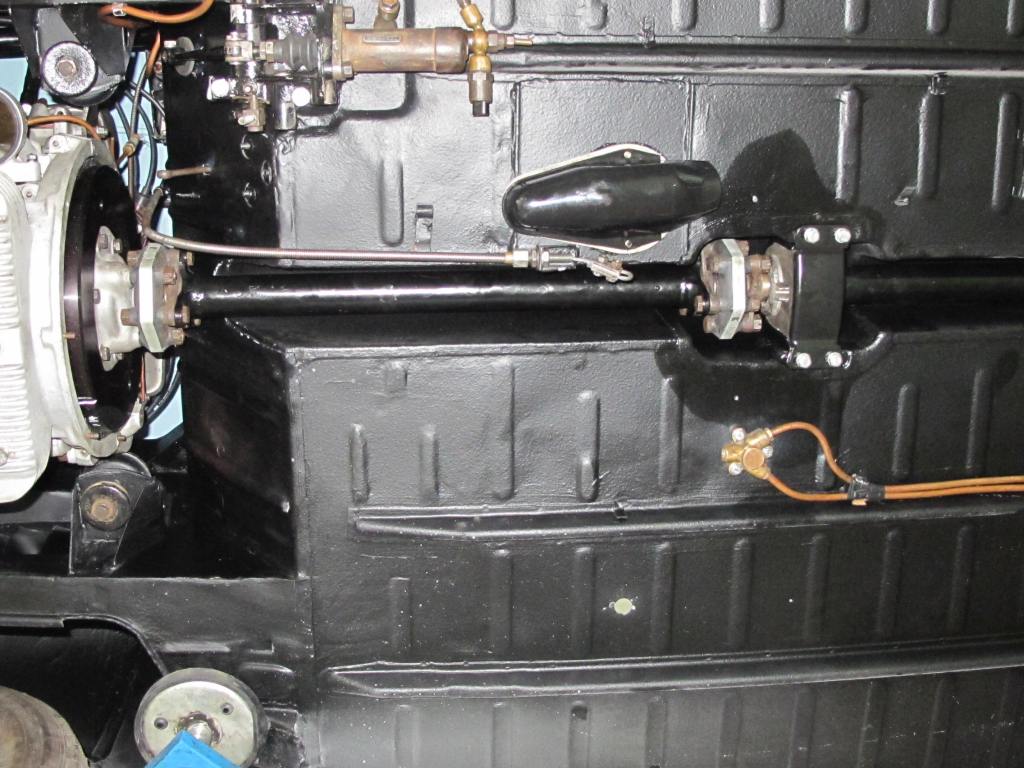
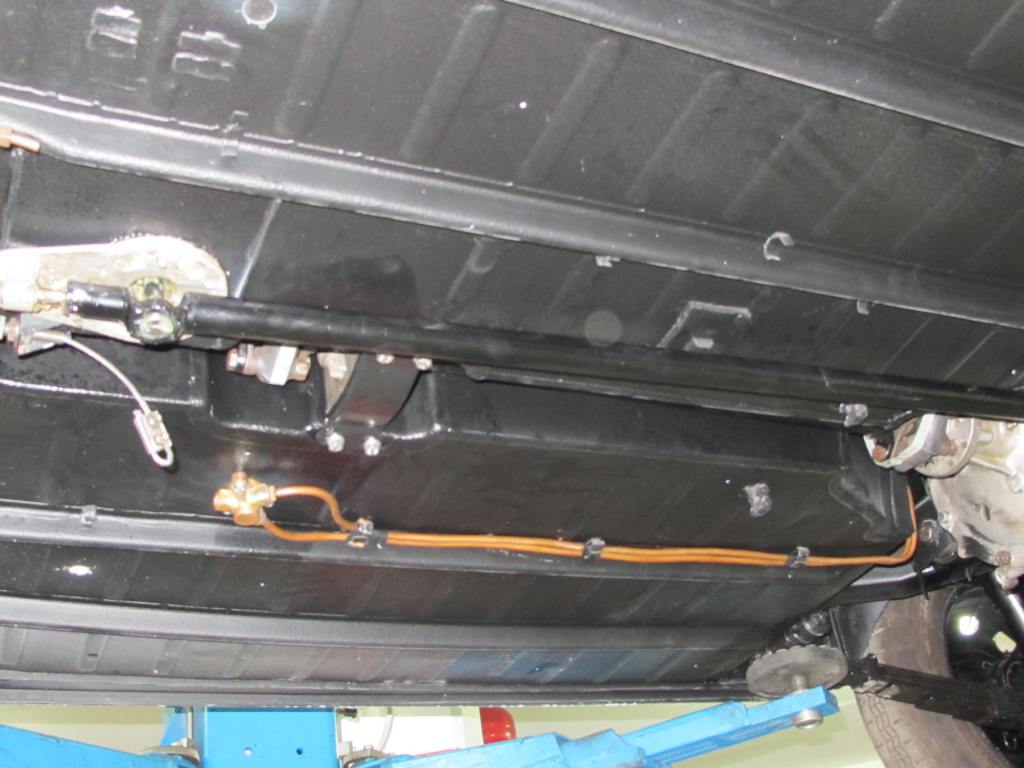
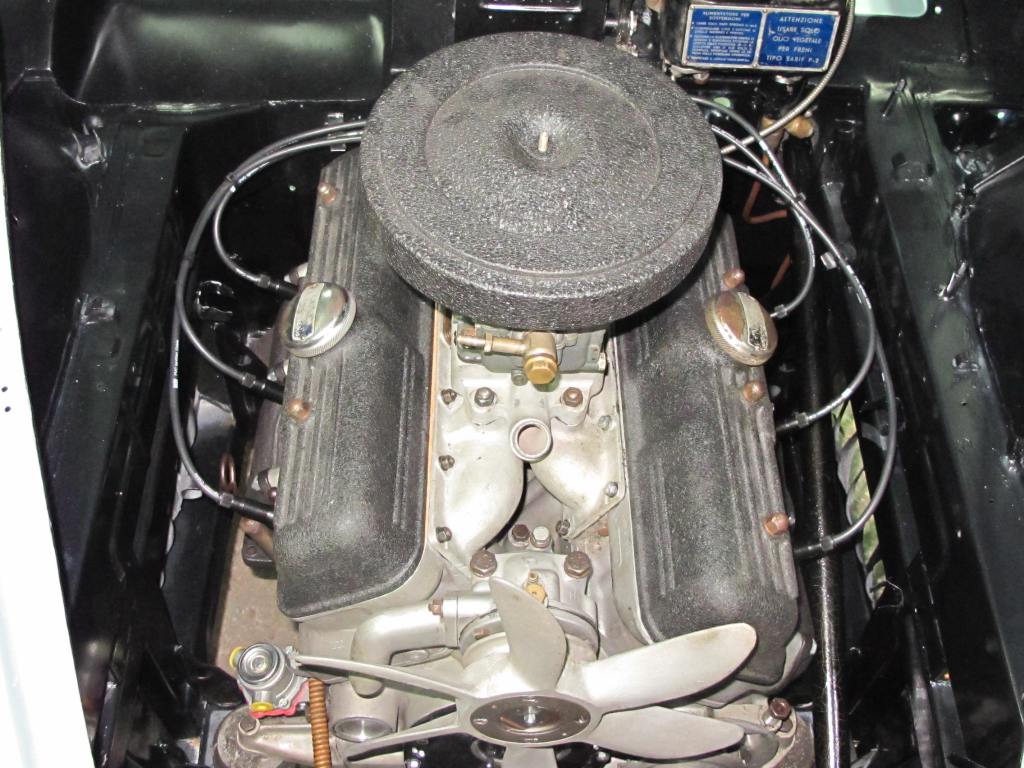
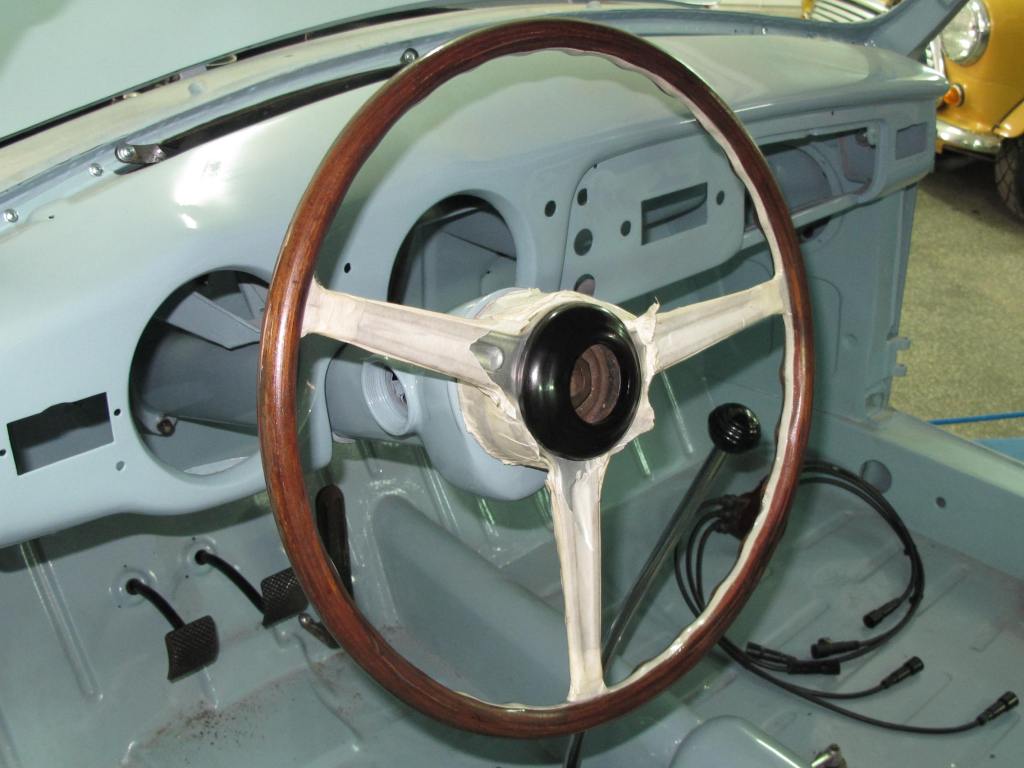
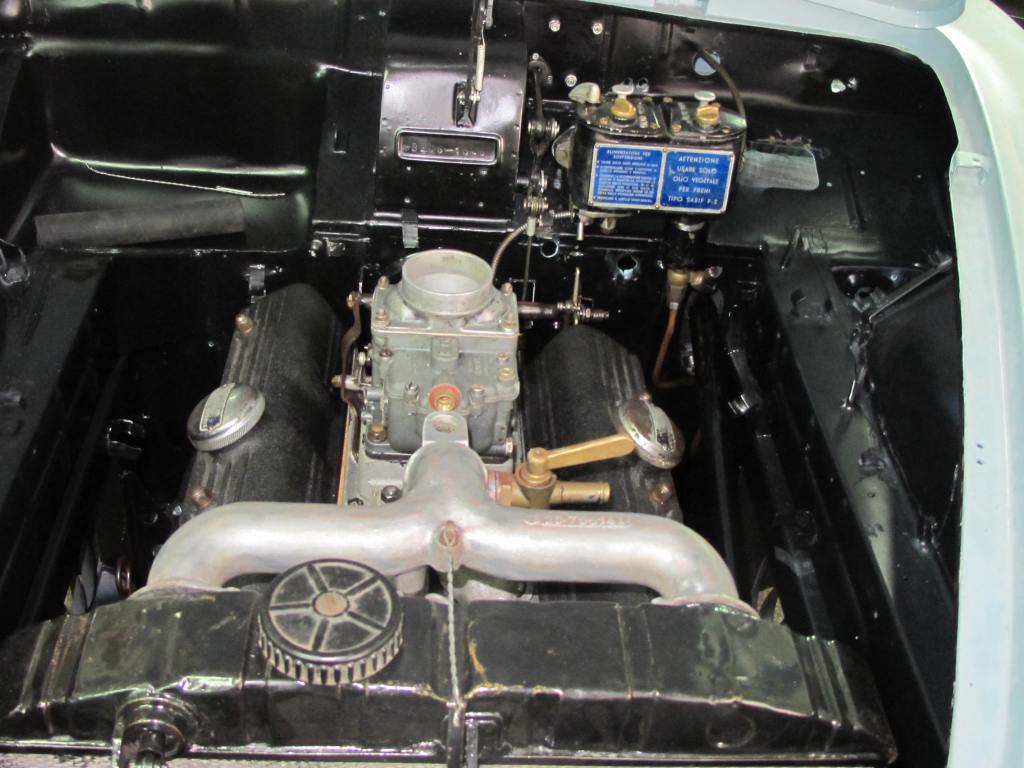
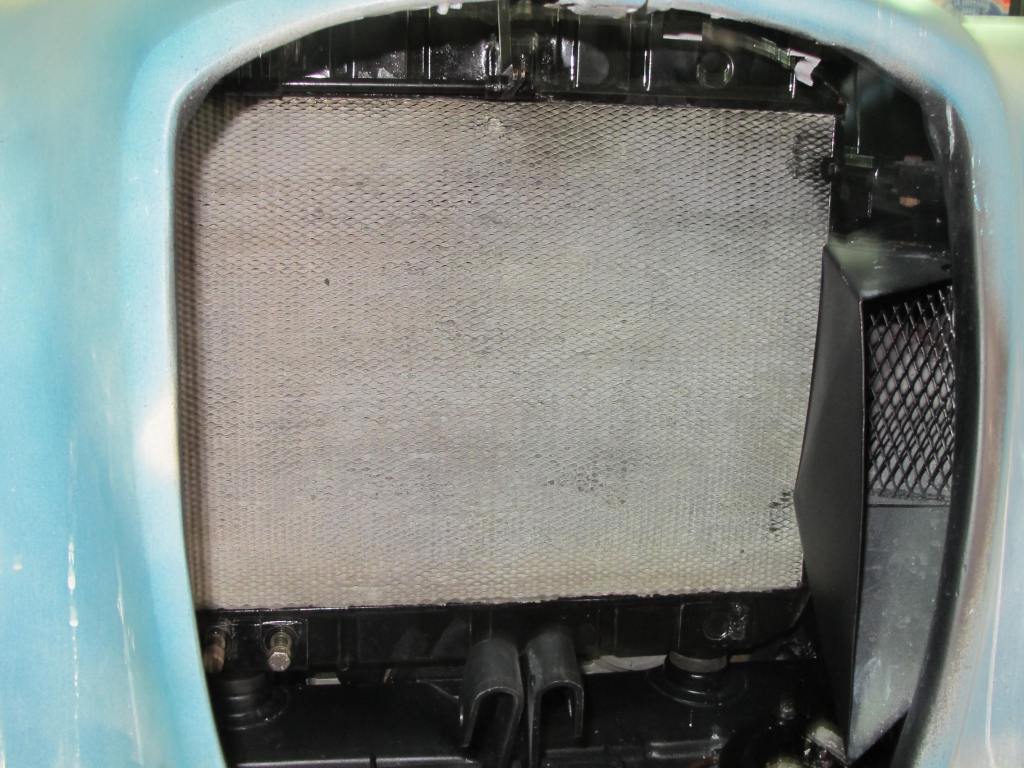
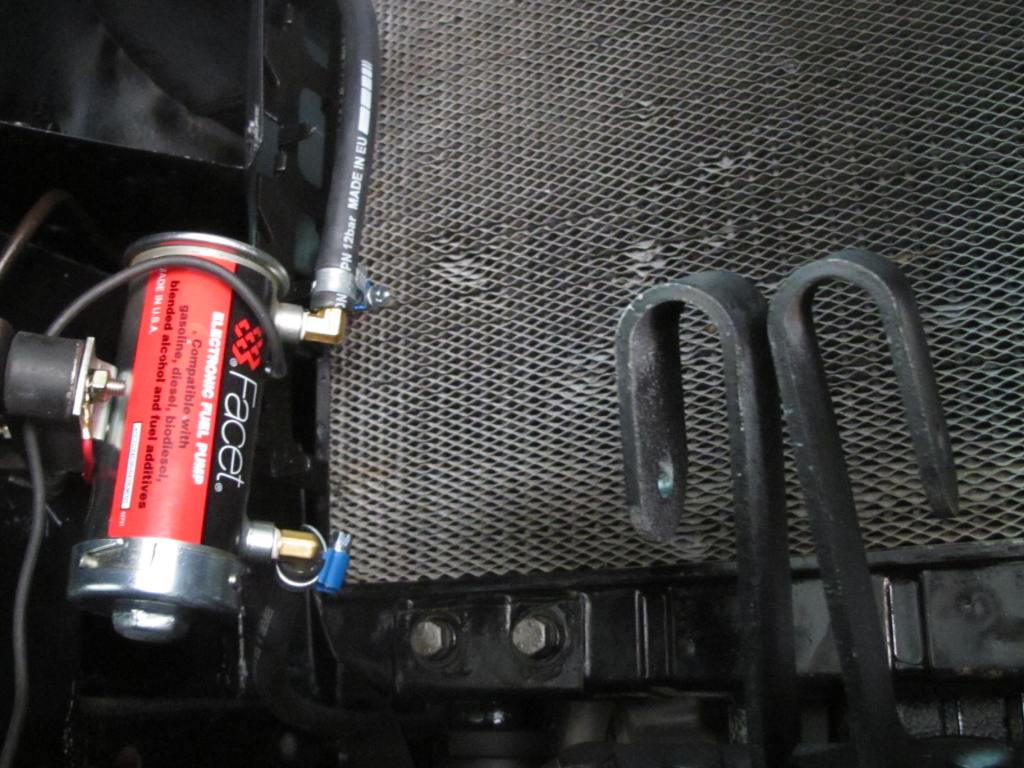
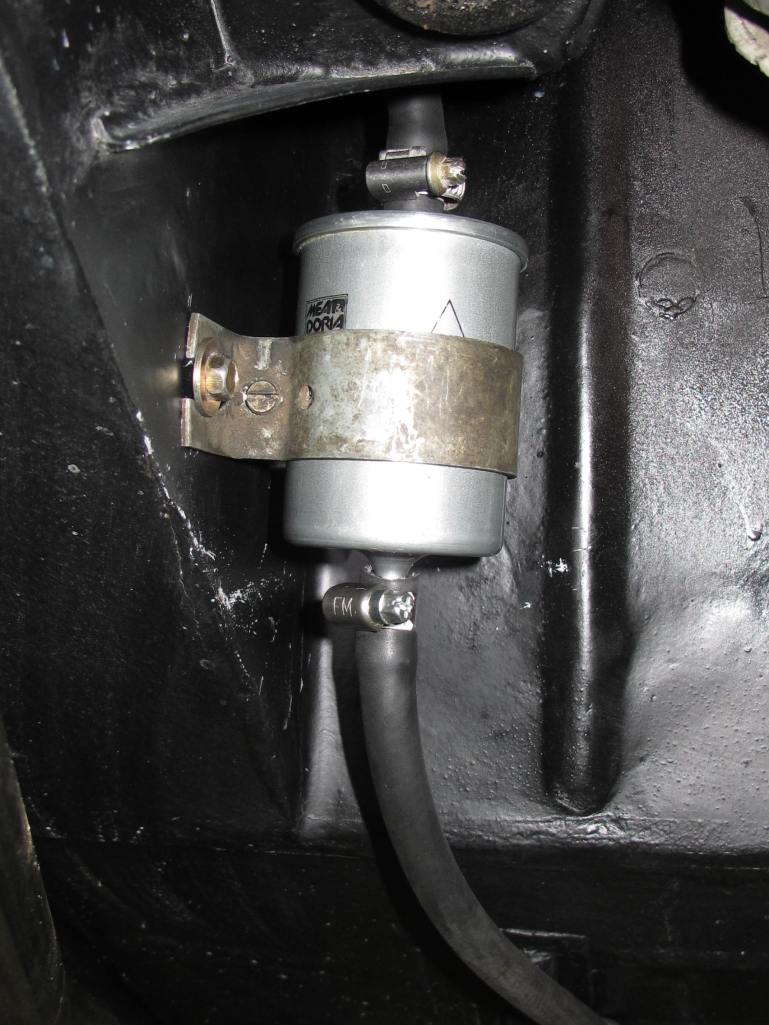
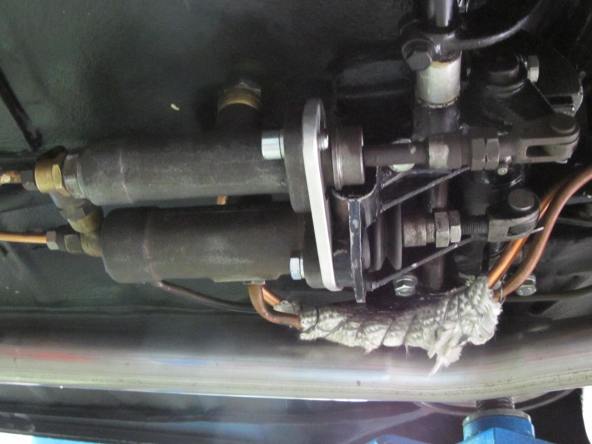
Afterwards, the partially restored B20S will be transported once again, this time to the electrician’s workshop for fitting a new custom made wiring loom and installing lights, switches, the reconditioned instruments et. al., before we can reach yet another milestone: firing her up! 🙂
December 2014 update.
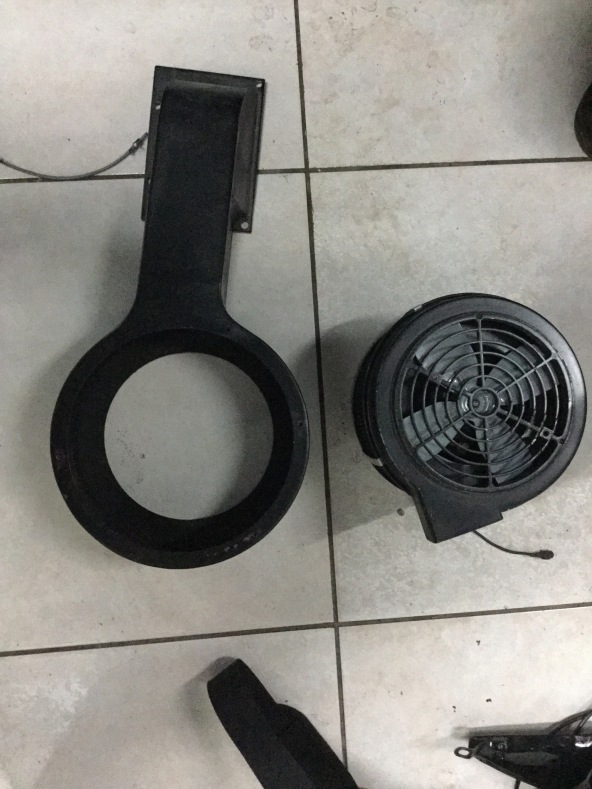
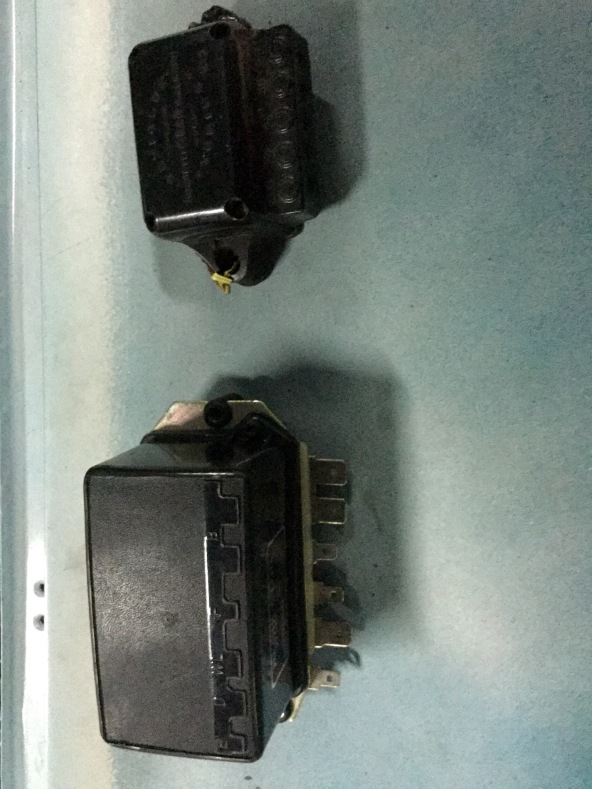
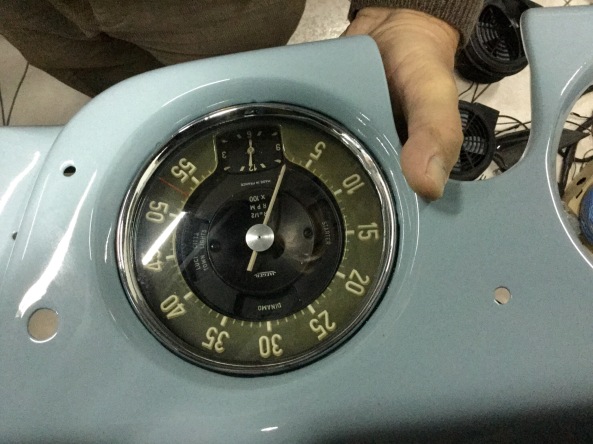
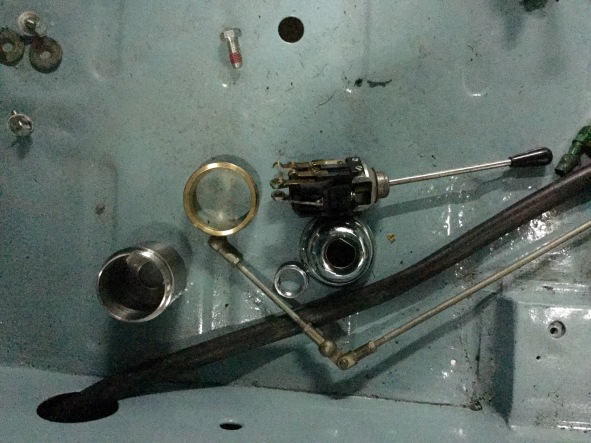
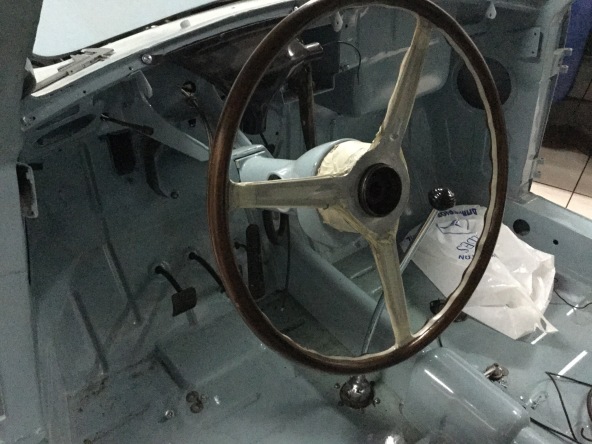
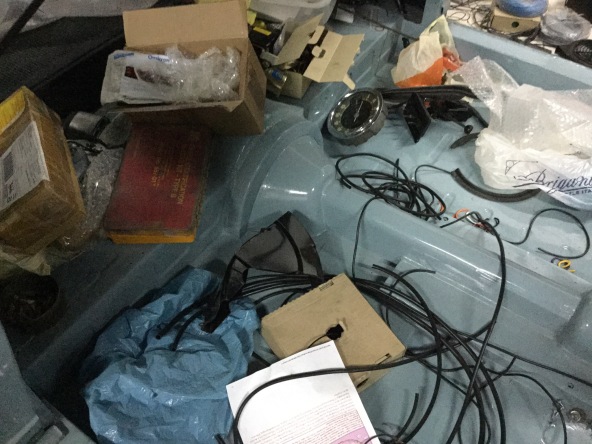
@the Electrician. Progress has been slowed down by few factors. Few more parts were needed which took some time to source in Italy. For example the windshield wiper mechanism, needed to be in hand before the dashboard panel and the instruments wiring could be installed. Second, after getting this vital part, the spindles upon which the wiper blades are fastened were shorter. This required careful machining. The list goes on and on.
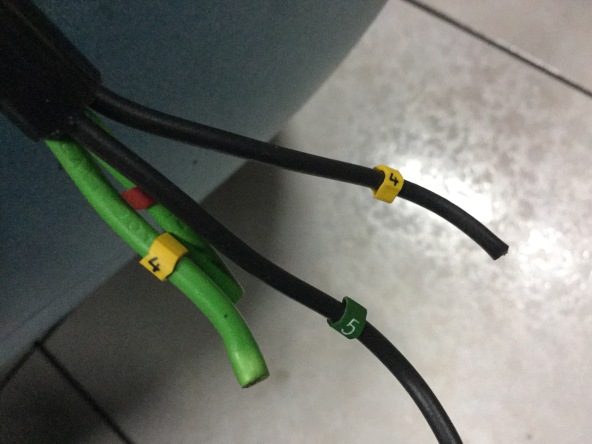
It all boils down to not making our Initial deadline of having the B20S on the road before Christmas 😦 Now the new deadline is pushed reluctantly to end January or February 2015. Few pics follow from the electrician’s works in progress.

Leave a comment